Installing sprockets on a mini excavator might sound intimidating at first, but don’t worry! With the right tools, a little bit of patience, and a dash of humor, you’ll have your excavator up and running in no time. Plus, if you’re reading this, you’re probably in the market for some high-quality sprockets. Lucky for you, we’ve got the goods—and the expertise to get the job done right.
Step 1: Gather Your Tools and Materials
Before you dive in, make sure you’ve got everything you need:
- The new sprockets (of course!)
- A set of high-quality wrenches or socket tools
- A pry bar or screwdriver
- A jack or hydraulic lift
- Safety glasses and gloves
And don’t forget the most important tool of all: a positive attitude. You’ve got this!
Step 2: Prepare Your Mini Excavator
First things first, you need to get your excavator ready for sprocket surgery. Here’s what to do:
- Disconnect the Battery: Safety first! Disconnect the battery to prevent any accidental startups.
- Raise the Excavator: Use a jack or hydraulic lift to lift the mini excavator off the ground. Make sure it’s stable and secure.
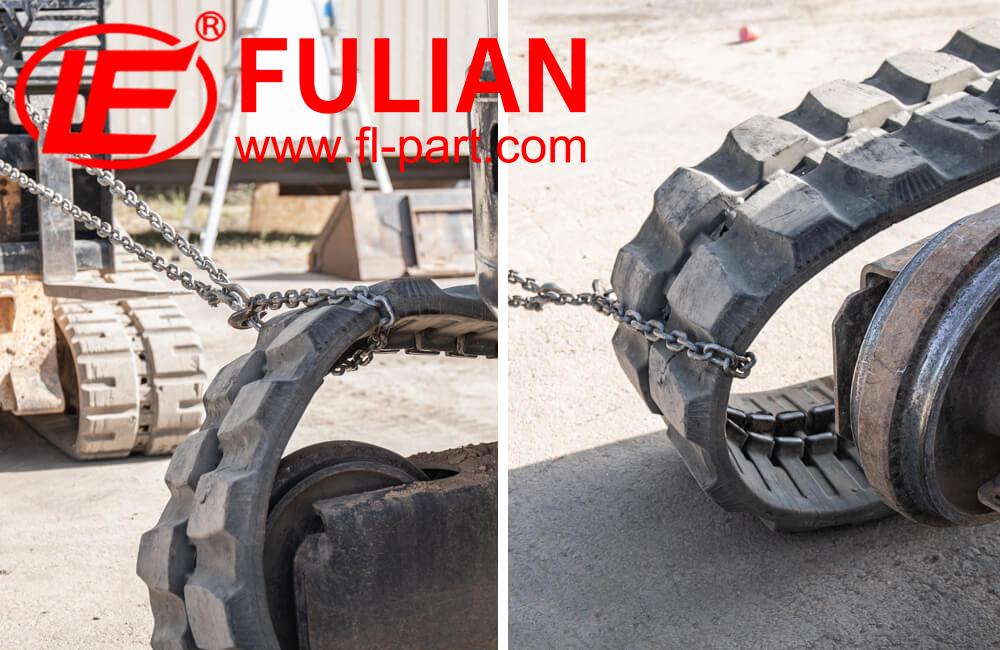
- Remove the Old Sprockets: Carefully remove the old sprockets and any associated bolts or fasteners. A pry bar or screwdriver can help if they’re stubborn.
Step 3: Clean and Inspect the Undercarriage
Before you install the new sprockets, it’s a good idea to give the undercarriage a quick cleaning. Use a wire brush or pressure washer to remove any dirt, debris, or rust. While you’re at it, inspect the undercarriage for any signs of wear or damage. If everything looks good, you’re ready to move on.
Step 4: Install the New Sprockets
Here’s where the magic happens. Follow these steps to install the new sprockets:
- Align the Sprockets: Carefully position the new sprockets over the undercarriage, ensuring they’re properly aligned with the track chain.
- Secure the Bolts: Tighten the bolts or fasteners to secure the sprockets in place. Be careful not to overtighten.
- Check for Proper Alignment: Give the sprockets a gentle tug to ensure they’re aligned correctly. If they’re crooked, take them off and start over—better safe than sorry!
Step 5: Reattach the Track Chain
Now that the sprockets are in place, it’s time to put the finishing touches on your mini excavator. Reattach the track chain, making sure it’s properly tensioned and aligned with the idlers and rollers. Take your time and double-check everything to ensure it’s secure.
Step 6: Test the New Sprockets
Before you declare victory, it’s crucial to test out those new sprockets. Start by lowering the excavator back to the ground and giving it a gentle shake. Then, power up the machine and take it for a spin. Pay attention to how the sprockets feel—do they run smoothly? Is there any noise or vibration? If everything feels right, congratulations! You’re ready to conquer the job site.
Why Choose Us for Your Sprockets?
At Fulian, we don’t just sell sprockets—we deliver peace of mind. Our high-quality sprockets are designed to withstand the toughest conditions, ensuring your mini excavator stays in top shape for years to come. Plus, we’ve got a team of experts on hand to answer any questions you might have during the installation process.
If you’re ready to upgrade your mini excavator’s sprockets, look no further. Contact us today to get your order in and keep your machinery running like new!
Fulian Operation Team
2025.3.8